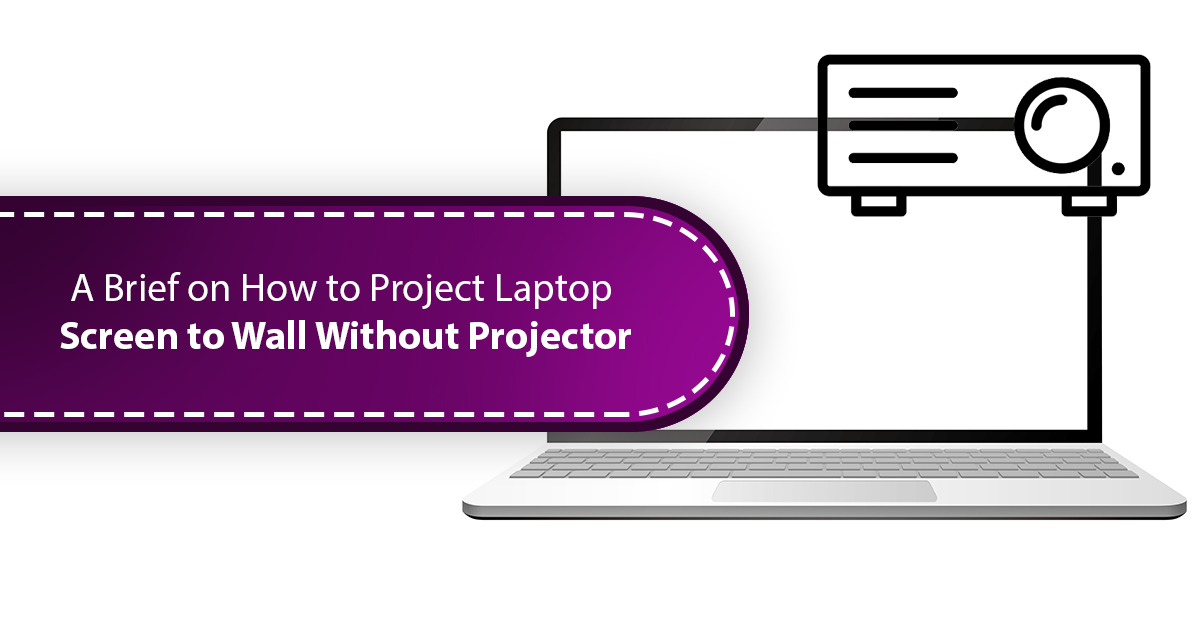
Want to have a movie night with your friends but the laptop will not be enough? Very simple. Set up the projector with your laptop and play the movie on a large screen. It will not only give you the feel of a personal theatre but also makes the entire movie streaming fun. But what if you do not have a projector? It’s also simple. Get one. There are thousands of options online and offline. All you need to do is buy one. But what if the price is too high? Well, here you will need us. You’re not the only one seeking for answers. We have lots of readers asking this. And to help you our experts have prepared a step-by-step guide on how to project laptop screen to wall without projector to help you have all the fun playing movie on the big screen.
Well, but before that, let’s dip into some of the basic knowledge about the projectors and its rise in India both in entertainment and industrial purposes.
Why do we concern about projectors? How much is it trending in India?
We all are aware of the use and importance of projectors in our lives. Not only in theatres, but also the business world has even started utilizing it. It is also popular in educational seminars and presentations. Over the last few years, the growth in projector industry has increased in India and research says that our developing country can be one of the main marketplaces for it in the coming years. All this happened with the introduction of AI and other information technology to our lives. Starting from 3D projectors in movie theatre and cinema hall, projector has been spread like a fire in almost every industry. You have a business meeting? Make a seminar and present it to everyone with a projector. Need to teach students? Create an informative presentation with animations and present it to them with projectors. Even you can launch your new product with the projector presentations. It is because people understand more through large screen videos and graphics that that of texts and brochure graphics. Besides, you can even add your own words with the presentations. Now apart from all these, projectors play a wonderful part in our lives. Despite going to the movies, you can create your own seminar in your room with a projector and have fun. And thus, it has become one of the important gadgets in the recent days.
Now let’s move to the main part of the blog post. We will discuss the ways you can create a DIY projector in your home with easy step-by-step guide in the following section.
Also Read: A Guide on How to Disable Laptop Speakers but Not Headphones
Steps regarding how to project laptop screen to wall without projector:
Apart from a sudden movie night plan, it can an emergency when you urgently need a projector. In that moment, you cannot just wait for an online projector delivery or go out to the market to buy it offline. Then what will you do? Think about an emergency like clients are waiting in the meeting room and the office projector broke down. Sounds horrific? It can happen anytime and thus the following steps will make you updated. Here, we will create a DIY projector with using some of our daily office and classroom essentials. And, they are listed below:
• Tape
• A wooden pencil
• A fully charged laptop
• Glue, preferably a glue stick
• A smartphone
• A cardboard box
• A precision knife to cut the box
• Black matte paper
• Magnifying lens, a large one would be great
Now when you are all set with the materials, we will start with our projector making process. Here is the step-by-step guide discussed below:
Step 1: Start with checking the size of the box for the DIY projector:
The very first thing you need to do is to find out a cardboard box with the right size. The size of the box is one of the essential things to create the projector. Make sure that it is large enough to make your laptop or smartphone fit inside it along with the magnifying lens. In this way, you can also line the light source inside the box to pass through the lens and project images.
A shoe box will be the appropriate one as it is long enough. It will allow you to set up and maintain the right distance between the laptop or smartphone and lens. Make sure that these two are as far away as possible inside the box. Thus, you will be able to adjust the focus for the DIY projector. A lens with normal size will be okay for the smartphone, but if you are using a laptop, make sure that the lens is as bigger as the screen.
Now we are all set here. All you need to do now is the following:
a) Put the magnifying glass at the centre of the narrow side of the cardboard box.
b) Take the pencil and trace out the shape of the lens.
Despite that, there are some more hacks in this step. If you want the images a bit brighter, then use a light source inside the box for light ray. It is optional. You can create a DIY projector without it too. Besides that, we will also recommend you to use a simple, phone sized, rectangular shaped mirror inside the box. It will provide you with accurate self-reflected images on your projector screen.
Step 2: Black out the interior and dim it for better quality images:
Now it is time to create the perfect interior inside the projector to make the images higher quality and stunning. For that, all you need the precision knife we have listed above. You can even use a scissor if you do not have a knife. Also, it is good for safety purposes. Now cut the box out open starting from any of the single corner. It would be great if you cut the box through its edge. It will also prevent the box to get damaged.
But this will reflect off the lights from the walls, resulting into an inferior quality image from the projector. This is why, we will dim the interior of the box with the above-mentioned black matte paper. Cover the entire inside of the box with this paper. You can also use any black thick paper in this. Use the glue stick from the materials mentioned above and put it on the paper before, so that it can remain on its position. It will prevent the light reflection from the interior walls of the box and make it dimmer. Thus, you can create the ideal images projected on the large screen.
But what if you cannot find any black matte paper or thick black paper? Very simple. Get a piece of paper and paint it black. You can alternatively paint the entire inside portion of the box black. Make sure all the adjacent sides are also painted black and let the interior dry out.
Also Read: How to Insert SD Card in Laptop without Adapter? There Are 2 Ways
Step 3: Install the lens into your DIY laptop/smartphone projector:
Now comes to the third step of the process. In this step, we will install the magnifying lens inside our DIY projector to create images. Remember we asked you to trace the shape of the lens in the cardboard box with the pencil? Now cut out that drawn outline at the centre of the plate with a knife or scissor.
Once done, make sure that the hole you have made and the lens are both of same size. Or else, it may not be able to project the images properly. After you made sure that everything is in order, put the lens into the hole and install it correctly.
Step 4: Make a manual hole to adjust the focus in your phone projector:
Up to the last step, we were designing the cardboard box we were using from the start. But in this step, we will need another box, complimentary from the first one. It will be a bit small size so that it can fit inside the cardboard box we were using. Found the correct box? Perfect. Now all you have to do is the following:
a) Put the box inside the cardboard box to see if it fits. And prepare four black matte paper layers matching the edges of the box.
b) Then cut the one side of it open. Make sure it has the similar dimensions same as your mobile screen.
c) Check inside the second box if there are shiny materials or strains. Or else, it may interrupt the projector.
How to know if the second box fits inside the first cardboard box? Well, if you are not sure you can follow the below mentioned steps. However, it is optional; you can skip it too:
• Enable the flaps of the second box to come out a few inches extra.
• Now make few cuts at the top and bottom portion of the second box.
• Then stick the neighbouring flaps together on their sides with glue stick. This will stiffen the whole structure.
• Lastly, apply the glue stick on the inner flaps of the second box.
Step 5: Adjust other parts of the structure and ensure that everything is alright:
Our DIY projector is almost done hence let’s move to the next. In this step, we will check if there are any other fine adjustments that needs to be done inside the structure. First, look at the box. If you are using a shoebox, then it will definitely come with the lids. Cut these lids out and make sure that the magnifying glass is not covered by anything.
But wait! Are the projected images rotating to the wrong side? Well, make sure that there is no auto-rotation mode enabled in your smartphone. If yes then deactivate it. Once you deactivate the auto-rotation of your smartphone, place it on its side within the box.
Also, you can use a mirror. It will also correct the left-right alignment in the picture placement. All you need to do is line up an appropriately sized mirror inside the box. Make sure the mirror is perpendicular to the magnifying lens. However, it is optional.
Step 6: Set up your laptop or smartphone by creating a new window:
This is the last and final step for our DIY mobile projector project. In this step, we will set up the laptop or smartphone which will provide the images to the lens. Place the laptop or phone at the selected place within the cardboard box. And, if you have used the mirror like we described in the last step, then measure your phone screen with the mirror. If it is rightly sized then no worries and if not, then cut out the extra rectangular portion from the mirror.
Now make sure that all three things, i.e., the lens, mirror, and the system (laptop or smartphone) down firmly on the cardboard of the box. If not, you can use a hot glue gun and make everything is in line. Then? Well, you have successfully created your DIY projector with your laptop screen or smartphone without requiring any sort of power connection or spending money on projectors. You can decorate it on your own or paint on it to give it an exquisite look.
Now you are all set. Play any movie or videos on your DIY mobile projector, and it will be directly projected on the projector screen or the wall.
And, this invites another issue. Without changing any further settings in the projector, you may see the images are coming upside down. It can be possible for the lens. But no worries! You can solve this easily with the following steps:
• Go to the search bar in your laptop from the search icon on the left bottom corner of your laptop display or by pressing the WINDOWS key on your keyboard.
• Search for Video Editor (only available in the Windows 10/Windows 10 Home laptops) in the search bar and click on it.
• Start a new project on the app and import the video you want to play through the DIY projector from the Projects Library.
• Press CTRL + R keys together to rotate the screen until it gets upside down rotation.
• Save the video.
Thus, the video will be played upside down on your laptop screen but in projector, it will show in correct orientation. Alternatively, the Windows 10 laptop users just search for display settings and press ENTER to rotate the video.
Simultaneously, if you are using a smartphone, you need to rotate the video to play it in the correct orientation on the projector screen. In an Android mobile, you can easily rotate the video from edit option on the video. Apart from that, you can also download such apps that edit videos and help you rotate those. And for iPhone, please go through the Settings > General > Usability > System. And, here you will find the rotation option.
Now when you are almost done with the DIY projector creation process, be sure that the images coming through it is clear and audible. If not, then the following portion needs to be done.
How to adjust the DIY projector movie and focus?
Even though you have completed all the steps as discussed before, there might be some issue that can cause trouble. Issues like bad image quality even after setting everything up in a correct order can happen frequently. If this happens, then do not panic. Just follow the below mentioned steps:
a) First, play a movie through the DIY projector on the projected screen or wall and test the image quality.
b) If it not good, then move your laptop or smartphone off gradually to adjust the focus.
c) Continue moving it until you get the right focus for the images.
Besides that, sometimes the picture output might not be able to please you. It is because of the magnification of the pictures. Often it creates certain blurriness on the screen and cause trouble watching it. Reducing the magnification, will increase the crispiness and make the images clear enough.
Apart from the image quality issues, some times the problem can be associated with the system audio. It is possible that the image is clear and well-focussed but the movie is inaudible. Do not get worried! It happens because of the location of the laptop or smartphone inside the box. Often it tarps the sound inside the cardboard box and reduce the volume.
In that moment, all you need to know is get an external speaker and connect it to your laptop or smartphone. You can get a Bluetooth speaker and connect it to your smartphone via Bluetooth. It is handy and cheaper than the external speakers. But if you are using a laptop, get an external speaker and connect it with a VGA cable. No worries if your speaker does not have a VGA port. You can also use the HDMI or RCA cable ports to make the connection.
So, this is the step-by-step ultimate guide for making a DIY mobile projector and use it for a movie night or emergency use anywhere. Just make sure that you have all the materials handy and you are all set.
But wait this is not the only one method to project images on the wall. Our experts have found one more fun way to create your own DIY projector and this time we will use a flashlight.
Also Read: 3 Easiest Ways on How to Make Laptop Screen Brighter Than Max
Creating an alternative DIY projector using a flashlight:
While the previous method was about watching a movie using the laptop or smartphone, this is all about using a Fresnel lens and a flashlight. With this method, you can only project one image at a time on the wall. This is not for a movie night. But yes, you can give a presentation with it if you have some handwritten PPTs. The steps are the following:
a) Gather some transparent plastic sheets and write the information on it with coloured pen.
b) Now get a cardboard to make a platform to create the DIY projector.
c) Set up the white flashlight at the back of the platform and connect it firmly either with a hot glue gun or black tape.
d) Point it to the wall and put the piece of the plastic sheets in front of it and let the light pass through it.
e) Now set the Fresnel glass at the front of the subject and it will put the image or writing from the sheet directly onto the wall.
f) Adjust the focus and move the subject accordingly on the platform until you get the clear viewing of the images on the wall or the projected screen.
FAQs regarding how to project laptop screen to wall without projector:
Ans. Yes, absolutely, you can do that. And the steps are pretty easy.
All you need to have a projector and a laptop. Now connect the projector with your machine via a VGA cable. Now turn ON both the laptop and the projector. It will project your laptop screen on the projected screen or the wall. However, some projectors need an USB cable for a VGA port connection. In that case, you will only need a long ethernet cable and connect its one end to your laptop while the other to your projector.
Ans. Of course, there are. Nothing is impossible with right technology and control.
You can create a DIY projector using your smartphone or laptop along with a cardboard box, lens, black papers, and glue stick. Cut the box open, set the lens in the appropriate position, cover the inside of the box with black papers, put the glue on the papers to firm down, set the laptop or smartphone inside the box and boom you’re all set for a private movie night.
Ans. Yes, there are plenty of apps available online that can allow you to use your smartphone as a projector and project images without a projector. There is an app named Epson iProjection. This is an Android application, very simple and easy to use. With this, you can project anything from your smartphone on the walls wirelessly. Apart from that, you can also consider MultiPresenter, Panasonic Wireless Projector, ClickShare, etc.
Ans. Usually, the projectors come with a Convex Lens in front of them. This lens magnified the images as depicted on the display and present it on the projected screen.
Ans. Well, there are tonnes of options to use alternatively while your classroom projectors are not working. But if you are looking for a decent option, then the following will be ideal:
• Commercial Displays.
• Whiteboards.
• Interactive Displays.
Ans. Surely, yes. You can create a DIY projector using a white flashlight and a Fresnel lens. All you need is the images and texts printed or written on the transparent plastic sheets. Make a firm platform with a cardboard or thermocol sheet and set up the materials as white flashlight > the plastic sheet with subjects > the Fresnel lens. Now turn ON the flashlight and enjoy your DIY projector.
Concluding with,
Even though the term projectors are still new to some of us, this has been taken over our digital lives long before. Even research shows that India is becoming one of the top global marketplaces for projectors in the coming years. Starting from classroom projects, to paper seminars, business presentation, movie theatre, and all, projectors are everywhere. Despite that, remember having a fun movie night in your place. Will you all hop over the laptop? Of course not! And, you do not have a projector. Simple! Project your laptop display on the wall without it. But how to project laptop screen to wall without projector? Well, we are here to help with this blog post. We hope it will give cool ideas on DIY projectors.